Installing Arch Linux can seem challenging at first because it uses a manual command-line installation instead of a graphical wizard. However, this process gives users full control over the system and helps them understand how Linux works internally. By installing only the components you need, Arch Linux becomes a lightweight and highly customizable operating system.
This guide explains the core steps involved in installing Arch Linux in a clear and beginner-friendly way. While the official installation media does not include graphical screenshots, the commands and stages below mirror what you will see during the installation process.
Table of Contents
Installation Overview
Arch Linux Installation Summary
| Step | Description |
|---|---|
| Download ISO | Get the official Arch Linux installation image |
| Boot Installer | Start the computer using the installation USB |
| Network Setup | Connect to the internet before installing packages |
| Disk Partition | Create and format partitions |
| Base Install | Install core system packages |
| System Config | Configure time zone, users, and bootloader |
| Desktop Setup | Install desktop environment like GNOME or KDE Plasma |
Following these steps carefully ensures a smooth installation process.
Prepare Media
Before installing Arch Linux, you need to create a bootable installation USB drive.
- Download Installation ISO
Download the latest Arch Linux ISO from the official website of Arch Linux. - Create Bootable USB
Use tools like Rufus or BalenaEtcher to write the ISO file to a USB drive. - Boot From USB
Restart your computer and enter the BIOS or boot menu to start the system from the USB device.
Once the system boots, you will see the Arch Linux installation terminal interface.
Preparing the installation media correctly ensures the installer loads without errors and allows you to proceed with system configuration.
Setup Network
After booting into the installer, the first important step is ensuring internet connectivity.
- Check Internet Connection
Wired connections usually work automatically. - Connect To WiFi
Use the built-in utility:
iwctl
Inside the utility, scan for networks and connect to your WiFi network.
- Test Connectivity
ping archlinux.org
Successful responses confirm that your internet connection is working.
Internet access is required because the installer downloads packages directly from the Arch repositories during installation.
Partition Disk
Disk partitioning determines how storage space is organized for the operating system.
Common partitions include:
- Root Partition – Contains the operating system
- EFI Partition – Used for system boot files
- Swap Partition – Optional memory extension
You can create partitions using the command:
fdisk /dev/sda
After creating partitions, format them:
mkfs.ext4 /dev/sda2
Then mount the root partition:
mount /dev/sda2 /mnt
Proper partitioning is important because it determines where system files and boot components will be stored.
Install System
Now you can install the base Arch Linux system.
Run the following command:
pacstrap /mnt base linux linux-firmware
This command installs the core operating system using the package manager Pacman.
Next, generate the file system table:
genfstab -U /mnt >> /mnt/etc/fstab
Then enter the installed system environment:
arch-chroot /mnt
At this stage, the basic Arch Linux system is successfully installed but still needs configuration.
Configure System
Now configure essential system settings.
- Set Timezone
ln -sf /usr/share/zoneinfo/Region/City /etc/localtime
- Set System Clock
hwclock --systohc
- Configure Language
Edit the file:
/etc/locale.gen
Then run:
locale-gen
- Set Hostname
echo myarch > /etc/hostname
These steps configure language settings, system time, and machine identity.
Configuration ensures the system operates correctly after rebooting.
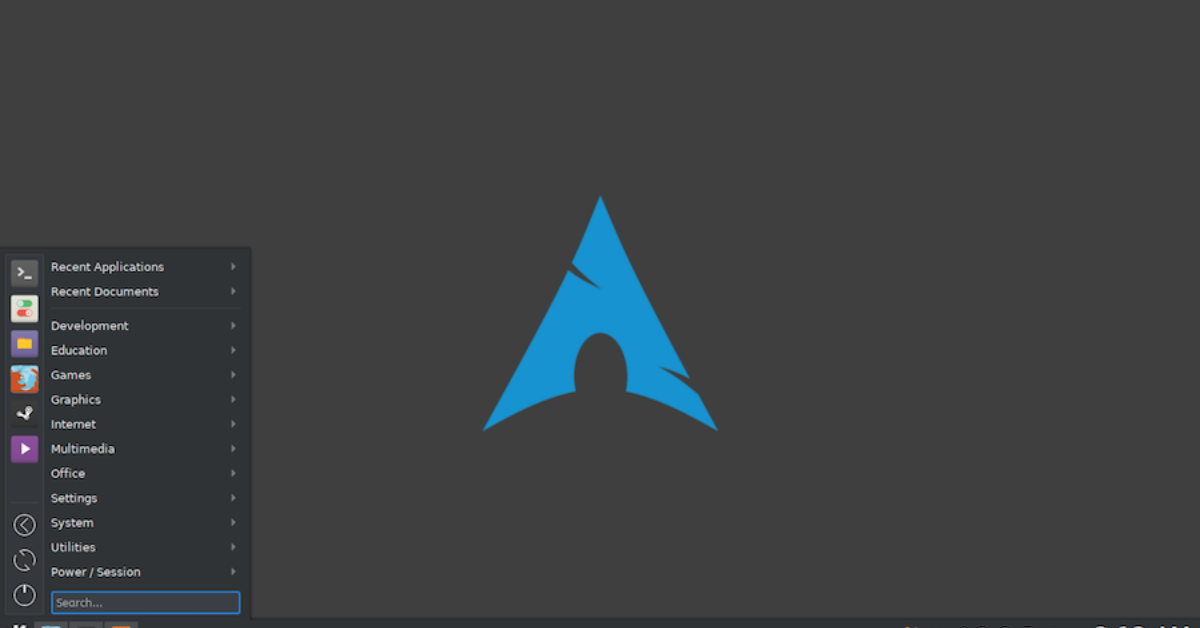
Install Desktop
After the base system installation, you can install a graphical desktop environment.
Popular options include:
- GNOME – Modern and simple interface
- KDE Plasma – Highly customizable desktop
- XFCE – Lightweight and efficient
Example installation command:
pacman -S gnome
Then enable the display manager:
systemctl enable gdm
Installing a desktop environment allows users to interact with the system through a graphical interface instead of only the command line.
Because Arch Linux is modular, users can install any desktop environment or window manager they prefer.
Final Setup
The final step is installing a bootloader so the system can start properly.
Install the bootloader:
pacman -S grub
Install GRUB on the disk:
grub-install /dev/sda
Generate configuration:
grub-mkconfig -o /boot/grub/grub.cfg
After completing these steps, exit the installation environment and reboot the system.
Remove the installation USB drive and start the computer normally. The system should now boot into your newly installed Arch Linux environment.
Key Takeaways
Installing Arch Linux manually helps users understand the internal structure of Linux systems. While the process requires careful attention, it provides valuable knowledge about partitioning, package management, and system configuration.
Many advanced Linux users appreciate Arch Linux because of its rolling release updates and highly customizable architecture. The detailed documentation provided by the Arch Wiki also ensures that users always have access to reliable installation and troubleshooting guidance.
With practice, installing Arch Linux becomes faster and easier, allowing users to create a powerful and personalized Linux system tailored exactly to their needs.