Installing Arch Linux traditionally required a long manual process using terminal commands. However, the modern installation tool called archinstall simplifies the setup significantly. This script provides a semi-automatic installation process that guides users through configuration steps using an interactive menu.
For beginners or users who want a faster installation experience, the archinstall script makes installing Arch Linux much easier while still allowing customization. The process still teaches the core concepts of Arch while reducing the complexity of manual commands.
Table of Contents
Installation Overview
Archinstall Installation Summary
| Step | Description |
|---|---|
| Boot ISO | Start the system using the Arch Linux installation media |
| Internet Setup | Connect to the internet before installing packages |
| Launch Script | Run the archinstall installer |
| System Setup | Configure disk, users, and system settings |
| Desktop Choice | Select desktop environment like GNOME or KDE Plasma |
| Install System | Script installs packages automatically |
| Reboot System | Start the newly installed system |
The archinstall script reduces manual configuration while still providing flexible installation options.
Prepare Media
Before starting the installation, you must prepare the Arch Linux installation media.
First, download the latest installation ISO from the official website of Arch Linux. This ISO file contains the system installer and required tools.
Next, create a bootable USB drive using software such as Rufus or BalenaEtcher. These tools write the ISO file to a USB drive so your computer can boot from it.
After creating the bootable USB, restart your computer and enter the BIOS or boot menu. Select the USB device to start the Arch Linux installer.
Once the installer loads, you will see the Arch Linux command-line environment where the installation process begins.
Network Setup
The installation requires an active internet connection because packages are downloaded directly from Arch repositories.
- Wired Connection
Ethernet usually connects automatically after booting. - Wireless Connection
Use the built-in Wi-Fi utility to connect to your network. - Test Internet Connection
ping archlinux.org
If the command returns responses, the network connection is working correctly.
Reliable internet access ensures the installation script can download packages using the package manager Pacman.
Launch Installer
Once the system is connected to the internet, you can start the archinstall script.
Run the command:
archinstall
The script will launch an interactive installation menu. This interface allows users to configure the system step by step.
The installer includes several options, such as:
- Language selection
- Disk configuration
- Bootloader installation
- User account creation
- Desktop environment selection
The archinstall script simplifies many tasks that previously required manual configuration commands.
Configure Options
The installer will guide you through several important configuration settings.
- Disk Partitioning
Choose the target disk and allow the installer to automatically create partitions. - Filesystem Selection
Select a filesystem such as ext4 or btrfs for the root partition. - Bootloader Setup
The installer typically installs the GRUB bootloader automatically. - User Accounts
Create a system username and set a password. - Time Zone And Language
Select your region and keyboard layout.
These configuration steps ensure the installed system works correctly after rebooting.
Desktop Selection
One of the useful features of the archinstall script is the ability to install a graphical desktop environment during setup.
Common options include:
- GNOME – Modern interface with simple design
- KDE Plasma – Highly customizable desktop
- XFCE – Lightweight and efficient
Selecting a desktop environment during installation saves time because the system installs graphical components automatically.
Users who prefer a minimal setup can skip this step and install a desktop environment later.
Installation Process
After all configuration options are selected, the archinstall script begins installing the system.
During this stage, the installer will:
- Partition and format the disk
- Install base system packages
- Configure system settings
- Install the selected desktop environment
- Set up the bootloader
The script uses Pacman to download and install all required packages from official repositories.
The installation may take several minutes, depending on the internet speed and selected packages.
Final Boot
After the installation completes, the installer will prompt you to reboot the system.
Remove the installation USB drive and restart your computer. The system should now boot into your new Arch Linux environment.
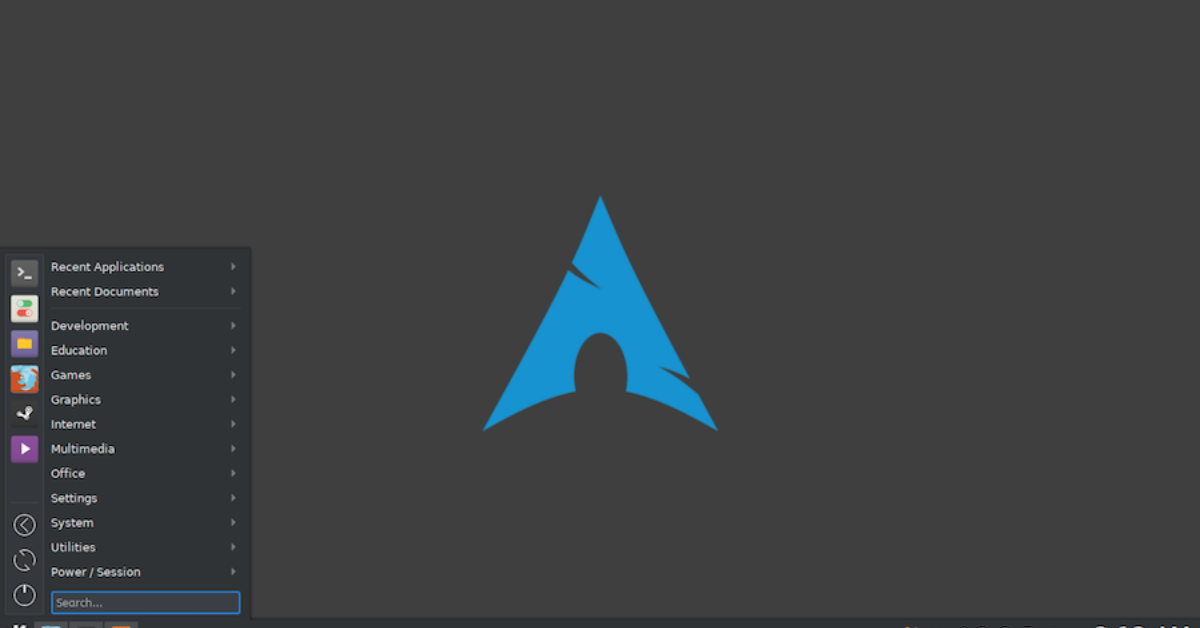
If a desktop environment was selected during installation, you will see the graphical login screen. Otherwise, the system will start in a terminal interface where you can continue configuring the system manually.
Moving Forward
The archinstall script has made installing Arch Linux much easier compared to the traditional manual method. While the classic installation process remains valuable for learning Linux internals, the script provides a faster and more accessible option.
For beginners interested in trying Arch Linux, archinstall offers a balanced approach between automation and customization. It allows users to install a fully functional system quickly while still maintaining the flexibility that makes Arch Linux popular among developers and Linux enthusiasts.